The best way to do this was to take the closest line of Vertices to the centre of the face and start by moving them out. I was then able to line up a second line of Vertices parallel to the front line. This would give the affect of the head starting to round off. For the key features of the face, such as the eye and nose, I used my 2 Reference Planes to line them up.
I started by moving the middle Vertices out
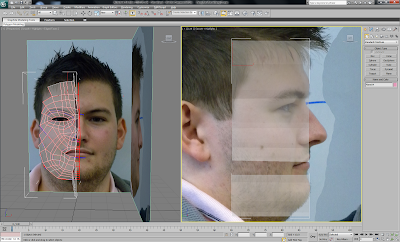
I started to shape these vertices to line up with the edge of the head
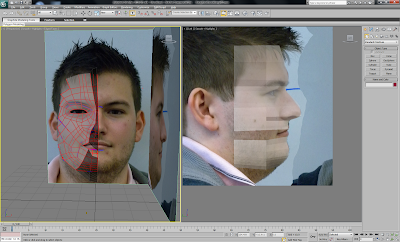
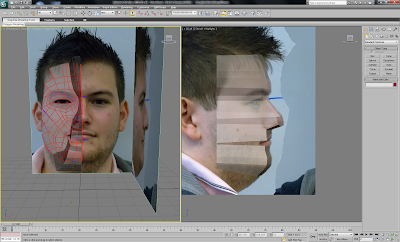
I continued throughout the face
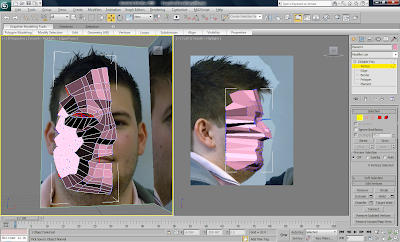
Face modelled without turbosmooth on
Complete face with turbosmooth on.
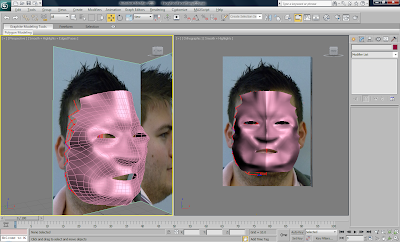
Creating the key features of the face was probably the hardest because it was very important that they lined up correctly as they would be the first thing that a person would look at when viewing the model.
I used the method given by the tutorial for most of this task however I had to spend a lot of time moving individual Vertices whilst viewing them in the "front" and "side" viewports. A lot of the modelling was going to be done eyesight so that they could be moved until they looked correct.
I had quite a distinctive seam down the middle of the head. To eliminate this I played about with the Symmetry and Mirror tools to make the join more realistic. I had to edit a few of the vertices to also make it look better.


No comments:
Post a Comment