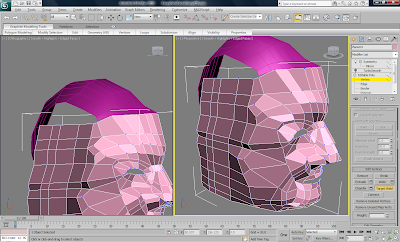
To do this, I created a Sphere object and converted it to an Editable Poly. I increased the amount of Segments in the Sphere so that it would match up to the top of my head. Once I had done this, I highlighted the bottom right third of the sphere as this would not be needed. I also deleted a lot off the side of the sphere along with some extra at the front and back to just make the shape of the actual head itself correct.
I moved the vertices around that were closest to the top of the forehead. I moved them closer to the other vertices so that it would make it a lot easier when it came to welding them together and attaching the object.
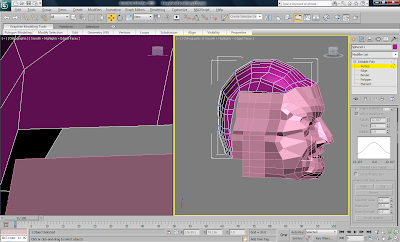
I started to extrude Polygons from the side of the head to create the side of the head and join up with the rest of the sphere. I used the Shift + Move tool to create the new polygons and therefore create a good flow of topology.
I started with the Sphere and took off the sides.

 I started to weld some of the Polygons to the rest of the head.
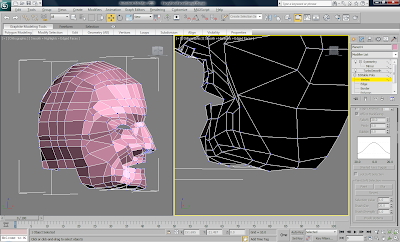
No comments:
Post a Comment