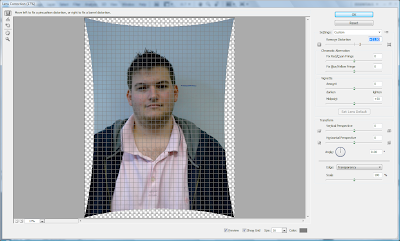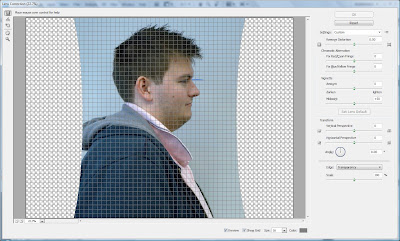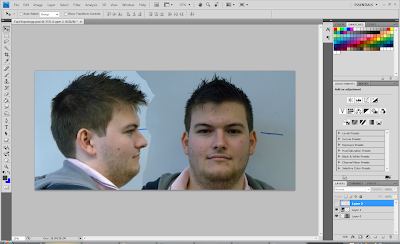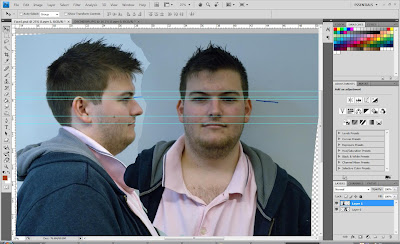

After I had eliminated some of the lens distortion from both images, I then needed to ensure that they lined up with each other. This would be crucial when it came to actually building the head as these images would be used as reference planes to build from. I moved both images onto 1 layer on Photoshop and erased some of the unnecessary background.

The next step was to make sure that the pictures lined up. The easiest and most effective way of doing this in Photoshop was to use the rulers provided. This would allow me to pick out key parts of the face and ensure that they were lined up. This took some time to do and I noticed it was quite tough for all the people in my class mainly because when you got 1 key feature lined up, such as the eyes, it meant the others were not lined up. It took some rotating, moving and transforming in Photoshop to get them aligned as much as possible.

No comments:
Post a Comment